
이제 연구실 서버 외부 접속이 가능해져서 코드 버전 관리를 위해
GitLab 도커 이미지는 CE(Community Edition)과 EE(Enterprise Edition) 버전이 있는데 나는
1. GitLab Docker 이미지 다운로드
다음의 Docker 명령어를 통해서 gitlab 이미지를 Docker Hub에서 다운로드 받을 수 있다.
latest의 태그명이 붙은 이미지를 다운로드 받았다.
$ docker pull install gitlab/gitlab-ce:latest2. gitlab 설치
다음의 Docker 명령어로
$ sudo docker run --detach \

    --hostname gitlab.ailab.com \

    --publish 8897:80 --publish 6015:22 \

    --name gitlab \

    --restart always \

    --volume /srv/gitlab/config:/home/ailab/GitLab \

    --volume /srv/gitlab/logs:/home/ailab/GitLab/log \

    --volume /srv/gitlab/data:/home/ailab/GitLab/data \

    gitlab/gitlab-ce:latest
80번 포트는 http용 포트, 22번 포트는 ssh deamon용 포트이다. 도커 포트 맵핑은
즉, 웹에서 접근시
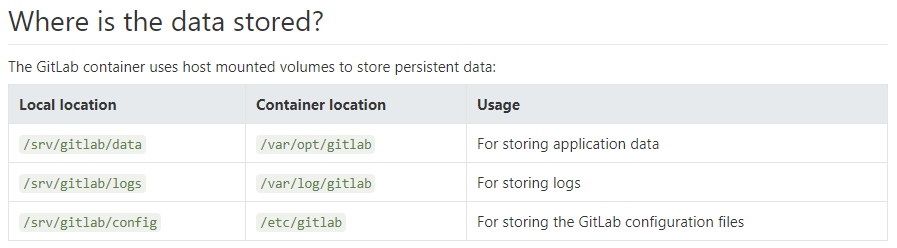
데이터 저장 맵핑 설명은 다음을 참고하였다.
참고로,
- 80 (http)
- 443 (if you configure HTTPS)
- 8080 (used by Unicorn)
- 22 (used by the SSH deamon)
3. Gitlab Configuration 수정
먼저 아래의 Docker 명령어로 gitlab 이름의 컨테이너로 접속한다.
$ docker exec -it gitlab /bin/bash다음 아래의 경로로 접속하여 nano 에디터로
$ cd /etc/gitlab
$ nano gitlab.rb
파일에 들어가보면 화면 중간부분에 GitLab URL부분에
## GitLab URL

##! URL on which GitLab will be reachable.

##! For more details on configuring external_url see:

##! https://docs.gitlab.com/omnibus/settings/configuration.html#configuring-the-external-url-for-gitlab

external_url 'http://gitlab.ailab.com:8897'
조금 내리다 보면 GitLab Shell setting for GitLab 부분에서
### GitLab Shell settings for GitLab

gitlab_rails['gitlab_shell_ssh_port'] = 6015
# gitlab_rails['gitlab_shell_git_timeout'] = 800
ctrl+o로 저장하고 enter를 누른후 ctrl+x로 나노 에디터를 빠져나온다.
서버 주소:포트번호(xxx.xxx.xxx.xxx:8897)로 사이트를 접속하면 정상적으로 접속이 되는 것을 확인할 수 있다.
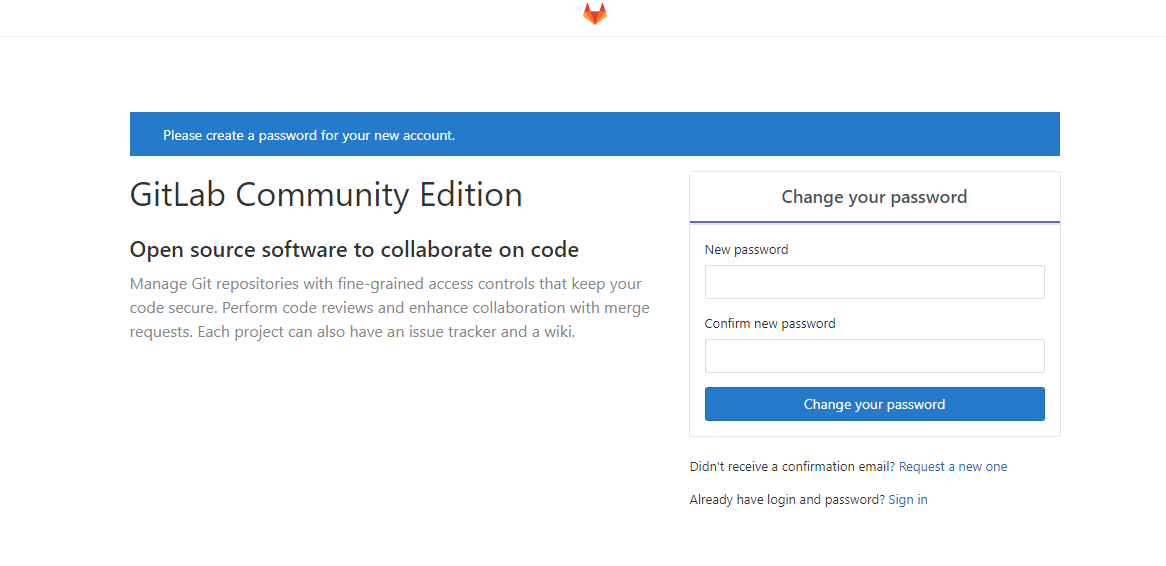
root 계정이 사용할 비밀번호를 입력하고 id는 root 비밀번호는 방금 설정한 비밀번호로 sign in 하면 로그인이 되는 것을 확인 할 수 있다.
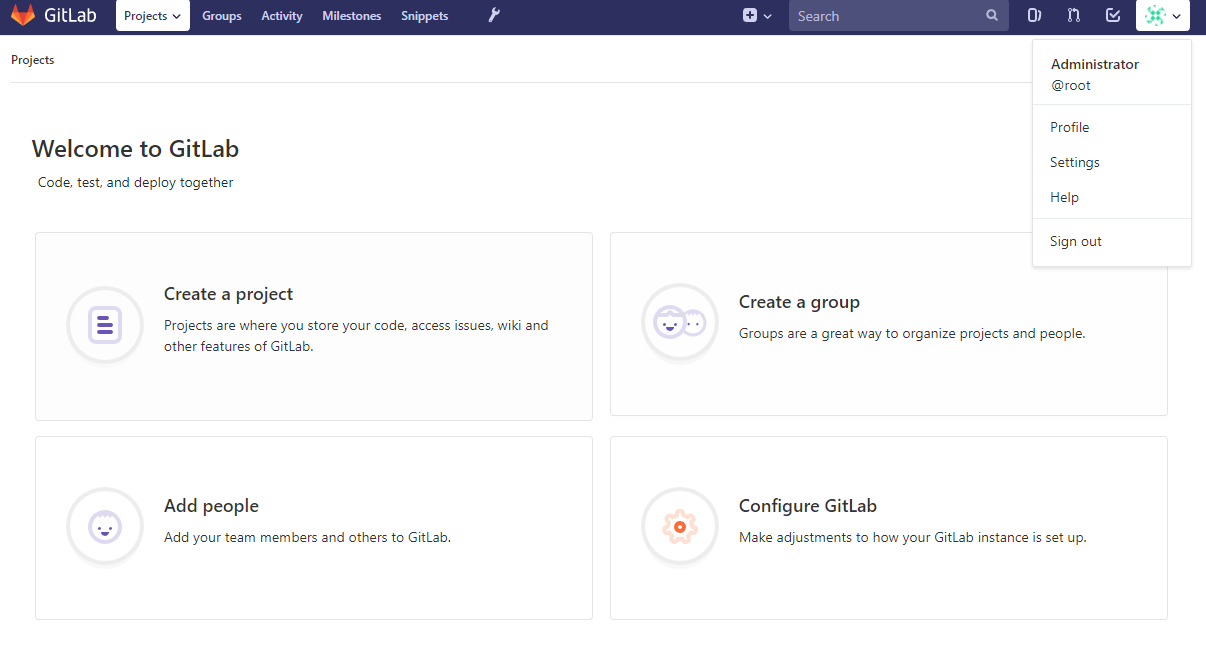
또한 root 계정 이외에
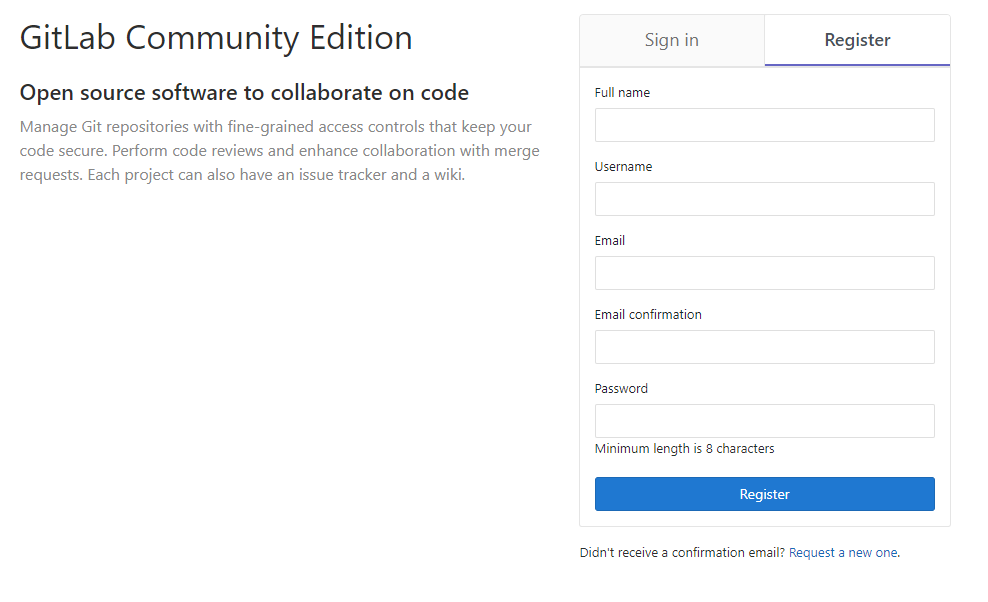
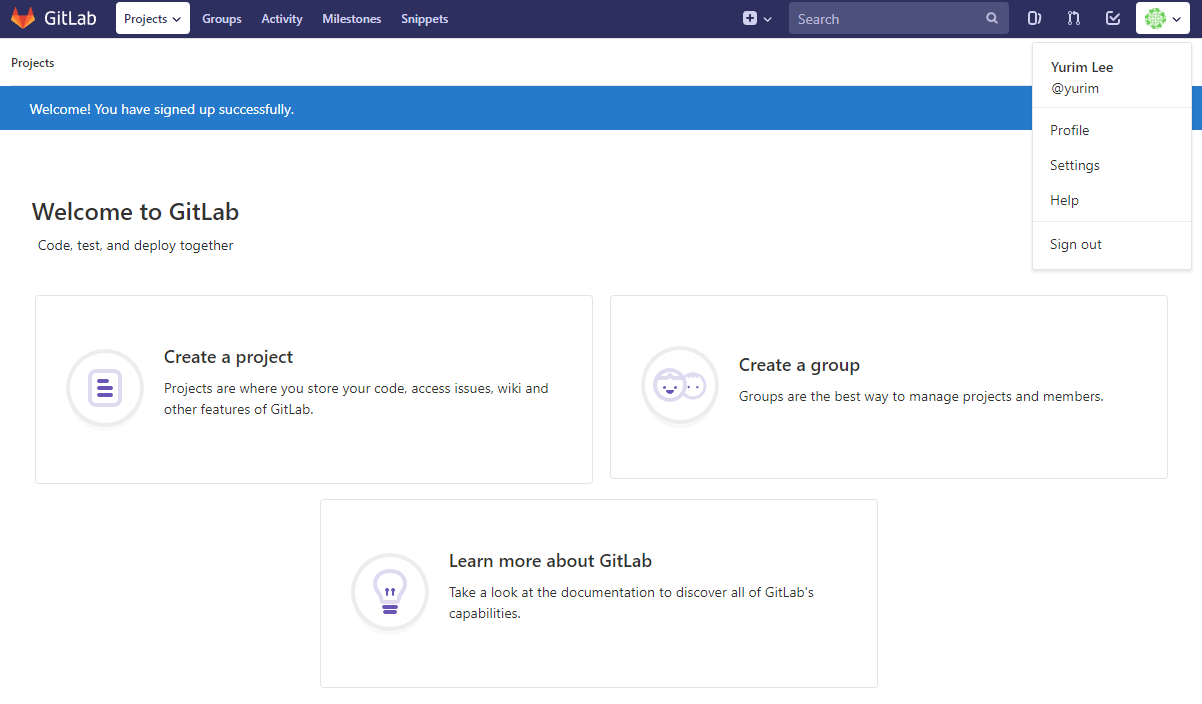
이렇게 나의 소스코드를 안전하게 관리할 수 있는 개인 계정 서버가 생성되었다!
reference
- https://docs.gitlab.com/omnibus/docker/