
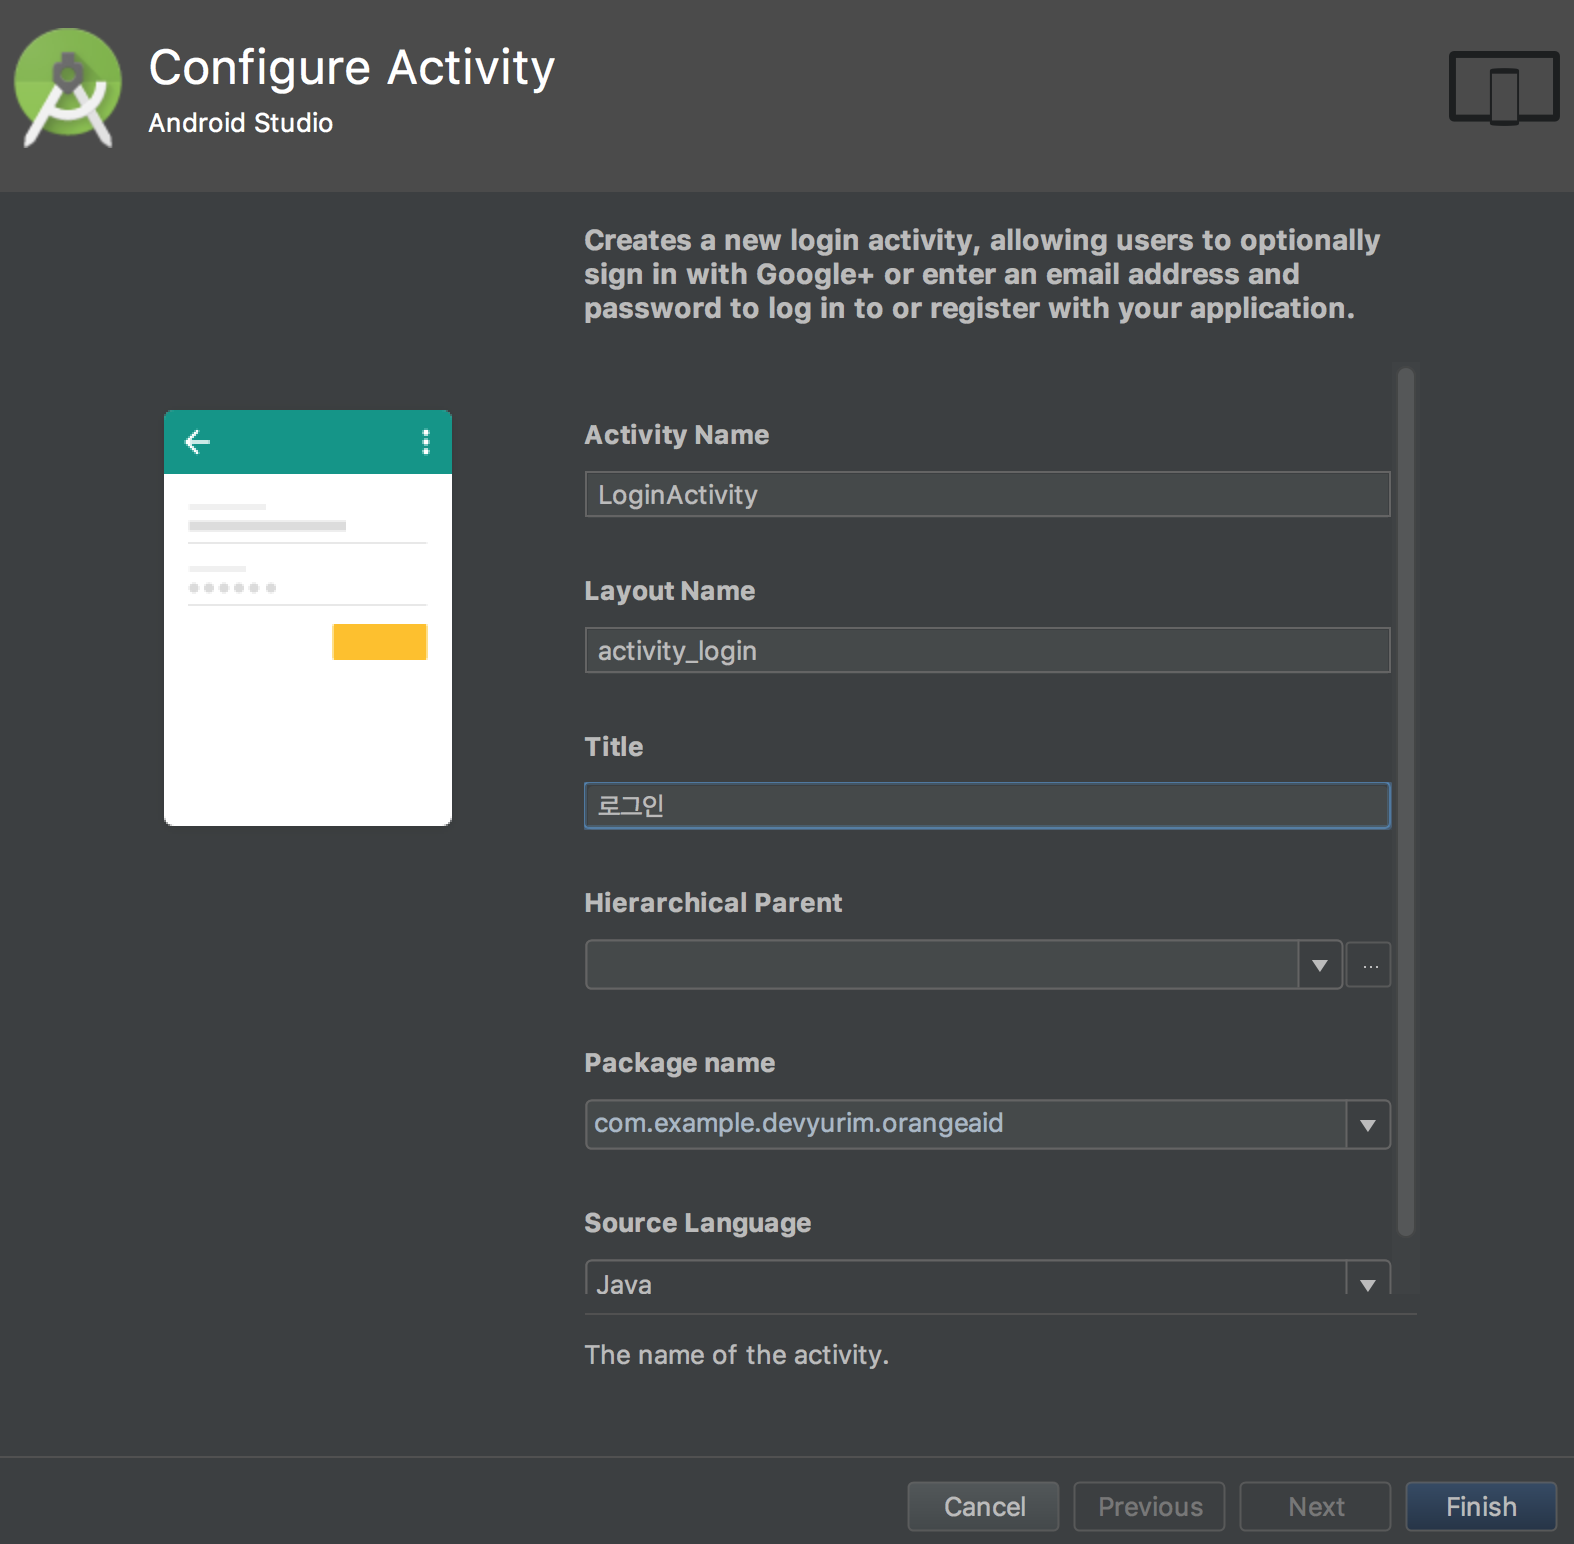
1. 로그인 액티비티 생성
안드로이드에서 기본적으로 로그인 폼을 지원한다. Activity 추가시
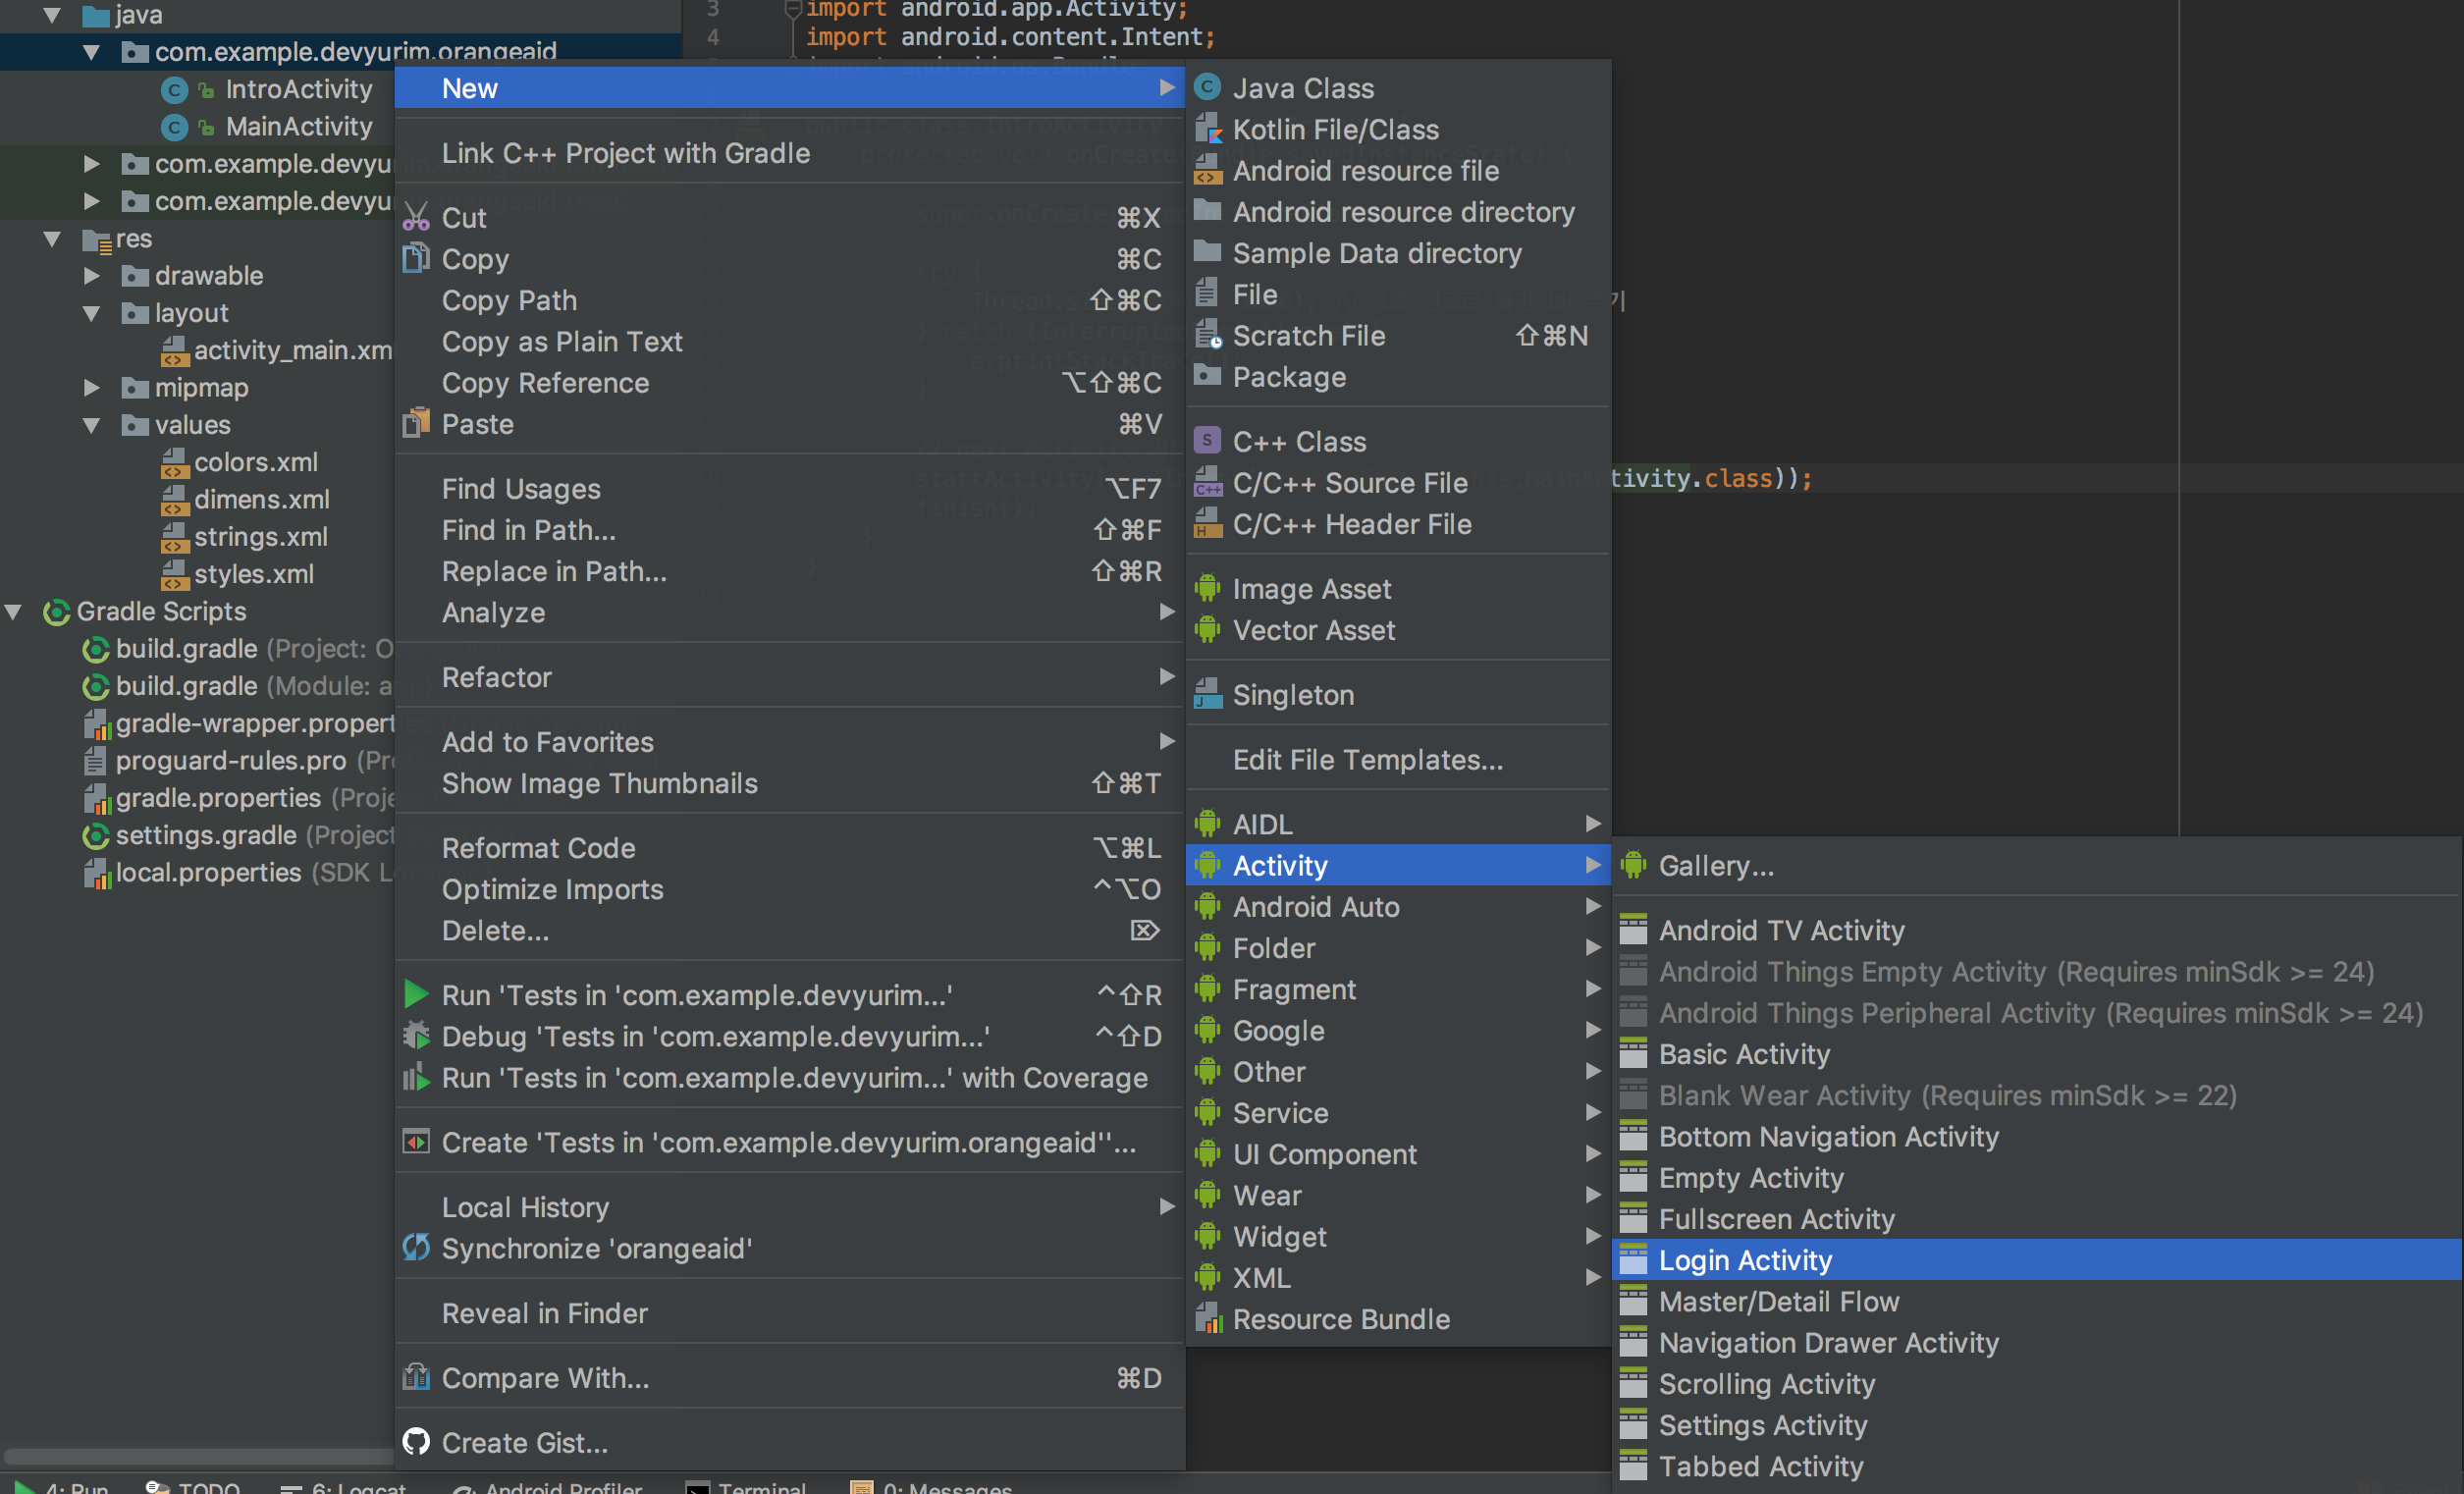
Activity Name과 레이아웃 xml 파일 이름, 타이틀 이름을 입력하고 Finish 버튼을 눌러서 생성한다.
2. 레이아웃 구조 수정
로그인 폼이 어떻게 만들어 졌는지 살펴 보면 Linear Layout(Horizontal) -> Scroll View -> Linear Layout(Vertical) 안에 EditText, Button 등이 차례로 들어가져 있는 모습을 볼 수 있다. Scroll View는 필요 없을 것 같아 삭제하고 구조를 Linear Layout(Horizontal) -> LinearLayout(Vertical) -> EditText, EditText, Button, Button 구조로 수정하였다.
안드로이드 어플리케이션의 화면을 구성할 때 버튼이나 텍스트 뷰, 텍스트입력, 버튼 등 각 요소를 넣으려면
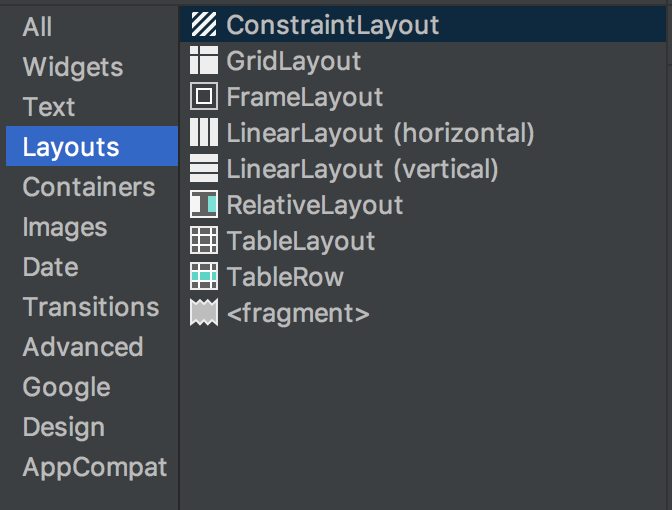
아래의 로그인과 회원가입 버튼처럼 버튼을 한 행에 배치 할 때는 LinearLayout(horizontal)을 추가한 뒤 버튼 2개를 레이아웃 안에 추가해주면된다. 버튼의 길이를 결정할 때 임의의 값을 지정해주게 되면 화면 크기에 따라서 다르게 보이기때문에
만약, 로그인 버튼의 weight를 2, 회원가입 버튼의 weight를 1로 지정하였다면 로그인의 버튼이 회원가입 버튼보다 상대적으로 길이가 길 것이다. (weight 2는 전체 길이의 2/3, weight 1은 전체 길이의 1/3)
- weight가 1:1 인 경우

- weight가 2:1 인 경우

수정한 폼과 코드는 아래와 같다.

- activity_login.xml
<LinearLayout xmlns:android="http://schemas.android.com/apk/res/android"
    xmlns:tools="http://schemas.android.com/tools"
    android:layout_width="match_parent"
    android:layout_height="match_parent"
    android:gravity="center_horizontal"
    android:paddingBottom="@dimen/activity_vertical_margin"
    android:paddingLeft="@dimen/activity_horizontal_margin"
    android:paddingRight="@dimen/activity_horizontal_margin"
    android:paddingTop="@dimen/activity_vertical_margin"
    tools:context="com.example.devyurim.orangeaid.LoginActivity">

    <LinearLayout
        android:id="@+id/email_login_form"
        android:layout_width="match_parent"
        android:layout_height="match_parent"
        android:gravity="center"
        android:orientation="vertical">

        <EditText
            android:id="@+id/email"
            android:layout_width="match_parent"
            android:layout_height="wrap_content"
            android:hint="@string/prompt_email"
            android:inputType="textEmailAddress"
            android:maxLines="1"
            android:singleLine="true" />

        <EditText
            android:id="@+id/password"
            android:layout_width="match_parent"
            android:layout_height="wrap_content"
            android:hint="@string/prompt_password"
            android:imeActionId="6"
            android:imeActionLabel="@string/action_sign_in"
            android:imeOptions="actionUnspecified"
            android:inputType="textPassword"
            android:maxLines="1"
            android:singleLine="true" />

        <LinearLayout
            android:layout_width="match_parent"
            android:layout_height="wrap_content"
            android:orientation="horizontal">

            <Button
                android:id="@+id/email_sign_in_button"
                style="?android:textAppearanceSmall"
                android:layout_width="wrap_content"
                android:layout_height="wrap_content"
                android:layout_marginTop="16dp"
                android:layout_weight="1"
                android:text="@string/action_sign_in"
                android:textStyle="bold" />

            <Button
                android:id="@+id/email_sign_up_button"
                style="?android:textAppearanceSmall"
                android:layout_width="wrap_content"
                android:layout_height="wrap_content"
                android:layout_marginTop="16dp"
                android:layout_weight="1"
                android:text="@string/action_sign_up"
                android:textStyle="bold" />
        </LinearLayout>

    </LinearLayout>
</LinearLayout>
3. 컴포넌트 텍스트 수정
(text view 글자, hint 글자, button 글자, page title 등)
추가 문구가 필요하면 생성하고 컴포넌트에 매칭시켜주면 된다. 필요한 사항만 남기고 나머지는 모두 지웠다. 필요 할때마다 추가하여 사용한다.
layout_login.xml에 가보면 text 요소에 “@string/action_sign_in”라고 기재되어 있다. 이 코드의 의미는 strings.xml의 name이 action_sign_in인 문구를 사용하라는 뜻이다. 통일성을 위해서 나는 strings.xml 파일을 사용하여 텍스트 값을 변경하였다.

추가적으로 화면의 타이틀을 변경하고 싶으면

4. LonginActivity.java 수정
로그인 액티비티를 생성하면 로그인 기능에 사용되는 기본적인 함수들이 자동으로 생성이 되므로 나중에 기능을 추가할 때 문서를 보고 함수를 수정하면 된다. 아직 서버가 완성되지 않았으므로
또한, 이메일 입력 자동완성기능은 DB와 연동이 필요하기 때문에 AutocompleteTextView에서 textedit로 컴포넌트를 변경해 주었다.
수정한 코드는 아래와 같다.
- LoginActivity.java
import android.app.Activity;
import android.os.Bundle;
import android.view.KeyEvent;
import android.view.View;
import android.view.View.OnClickListener;
import android.view.inputmethod.EditorInfo;
import android.widget.Button;
import android.widget.EditText;
import android.widget.TextView;

public class LoginActivity extends Activity {

    // UI references.

    private EditText mEmailView;
    private EditText mPasswordView;

    @Override
    protected void onCreate(Bundle savedInstanceState) {
        super.onCreate(savedInstanceState);
        setContentView(R.layout.activity_login);

        // Set up the login form.

        mEmailView = (EditText) findViewById(R.id.email);
        mPasswordView = (EditText) findViewById(R.id.password);

        // event handler

        mEmailView.setOnEditorActionListener(new TextView.OnEditorActionListener()
        {
            @Override
            public boolean onEditorAction(TextView textView, int id, KeyEvent keyEvent) {
                if(id == EditorInfo.IME_ACTION_DONE || id == EditorInfo.IME_NULL){
                   return true;
                }
                return false;
            }

        });
        mPasswordView.setOnEditorActionListener(new TextView.OnEditorActionListener() {
            @Override
            public boolean onEditorAction(TextView textView, int id, KeyEvent keyEvent) {
                if (id == EditorInfo.IME_ACTION_DONE || id == EditorInfo.IME_NULL) {
                    //attemptLogin();

                    return true;
                }
                return false;
            }
        });

        // Button

        Button mEmailSignInButton = (Button) findViewById(R.id.email_sign_in_button); // sign in button

        Button mEmailSignUpButton = (Button) findViewById(R.id.email_sign_up_button); // sign up button


        // event handler

        mEmailSignInButton.setOnClickListener(new OnClickListener() {
            @Override
            public void onClick(View view) {

            }
        });

        mEmailSignUpButton.setOnClickListener(new OnClickListener(){
            @Override
            public void onClick(View view) {

            }
        });

    }

}
아직 서버가 연동되지 않았으므로
일단 RegisterActivity를 Empty Activity로 추가 해준다음 다음과 같이 코드를 수정하였다.
// sign-in button event handler

        mEmailSignInButton.setOnClickListener(new OnClickListener() {
            @Override
            public void onClick(View view) {
                Intent intent = new Intent(getApplicationContext(), MainActivity.class);
                startActivity(intent);
                finish();

            }
        });

        // sign-up button event handler

        mEmailSignUpButton.setOnClickListener(new OnClickListener(){
            @Override
            public void onClick(View view) {
                Intent intent = new Intent(getApplicationContext(), RegisterActivity.class);
                startActivity(intent);
                finish();
            }
        });
추후 웹 서버 연동과 db연동을 한 후 로그인 확인기능과 추가 핸들러 기능을 구현할 예정이다.위의 예제 코드로 왠만한 기본적인 안드로이드 페이지를 응용하여 만들수 있다.(회원가입 폼, 기본 메뉴 화면 등) 어플리케이션에 필요한 화면들을 다 만든 뒤 추가 기능을 추가해야겠다.